What if you could ditch overpriced cable contracts and still pull in crystal-clear local channels — using nothing more than a spare piece of coaxial cable? You can, and learning how to make a homemade TV antenna is genuinely one of the most practical DIY projects you can tackle in an afternoon. With the right cuts, the correct measurements, and a basic understanding of how RF signals travel, you can receive free over-the-air HD broadcasts without spending more than a few dollars. This guide walks you through every stage, from choosing your cable to mounting the finished antenna for maximum reception.
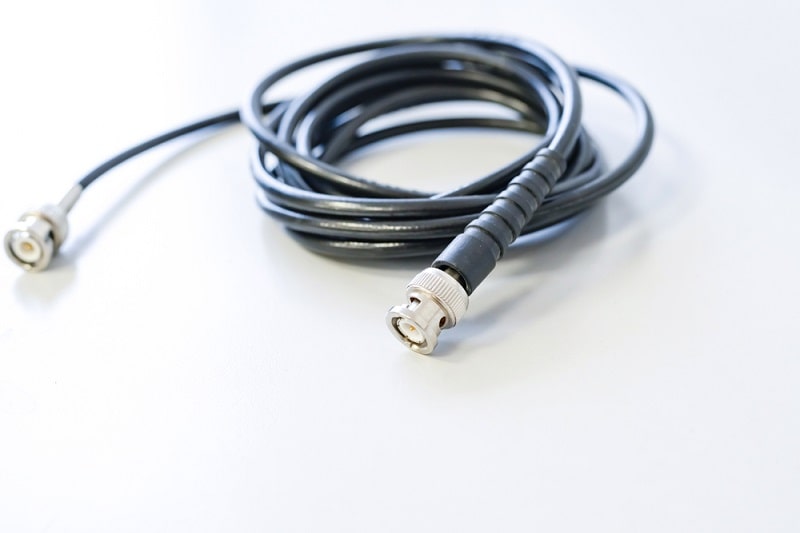
Coaxial cable is the standard RF transmission line already found in most homes, and its layered construction — center conductor, dielectric insulator, foil shield, and braided outer shield — makes it a natural starting point for antenna building. The same properties that carry a signal from a wall outlet to your TV can be repurposed to capture broadcast signals from the air. Once you grasp that principle, the entire project becomes straightforward and logical.
Whether you are setting up a secondary TV in a garage, cutting costs on a rental property setup, or simply experimenting with signal reception as a DIY enthusiast, a coaxial cable antenna delivers real-world results. Before you connect anything, you should also know how to hook up a TV antenna properly so your finished build feeds cleanly into your television's tuner.
Contents
Before you strip a single wire, it is worth understanding where a homemade coaxial antenna fits in the broader landscape of TV reception options. Not every situation calls for a DIY build, but in many cases it outperforms budget commercial antennas that cost $20–$40 at retail.
For comparison, once your antenna is up and working, how high your TV is mounted also affects the viewing experience, so consider the full room setup when planning your installation.
The entire project typically costs under $5 if you already own coaxial cable. Here is a realistic cost breakdown:
| Item | Estimated Cost | Notes |
|---|---|---|
| RG-6 coaxial cable (6–10 ft) | $0–$4 | Repurpose spare cable or buy a short run |
| F-connector or bare connection | $0–$2 | Often already on the cable end |
| Electrical tape | $0–$1 | For insulating exposed conductor |
| Wooden dowel or cardboard backing | $0–$2 | Optional mounting support |
| Signal amplifier (optional) | $15–$35 | Only needed if towers are 40+ miles away |
| Total (basic build) | $0–$9 | Most builders spend nothing |
If you are sourcing cable specifically for this project, RG-6 is the correct choice — it has lower signal loss than the older RG-59 standard and handles UHF frequencies far more efficiently across longer cable runs.
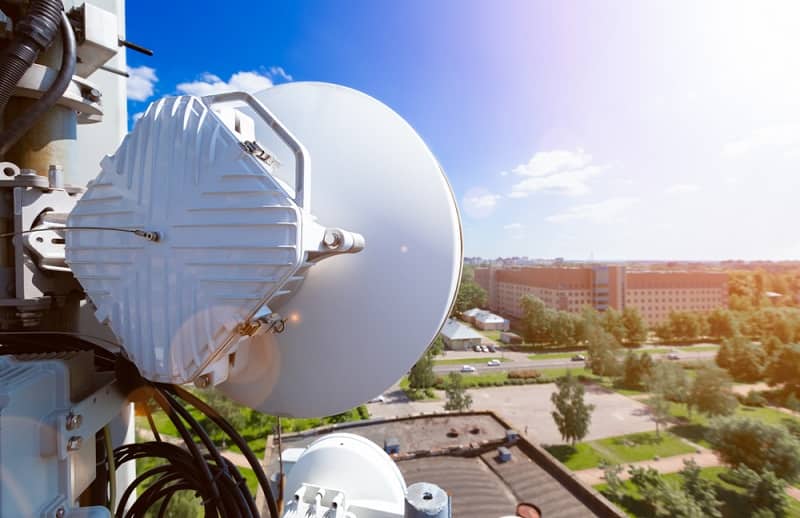
This method creates a basic dipole antenna tuned for UHF channels, which carry the majority of digital broadcast signals in North America. Follow these steps precisely and you will have a working antenna on your first attempt.

Pro tip: Always run your channel scan with the antenna in its final mounted position — moving it even a few inches after scanning can cause previously found channels to drop out entirely.
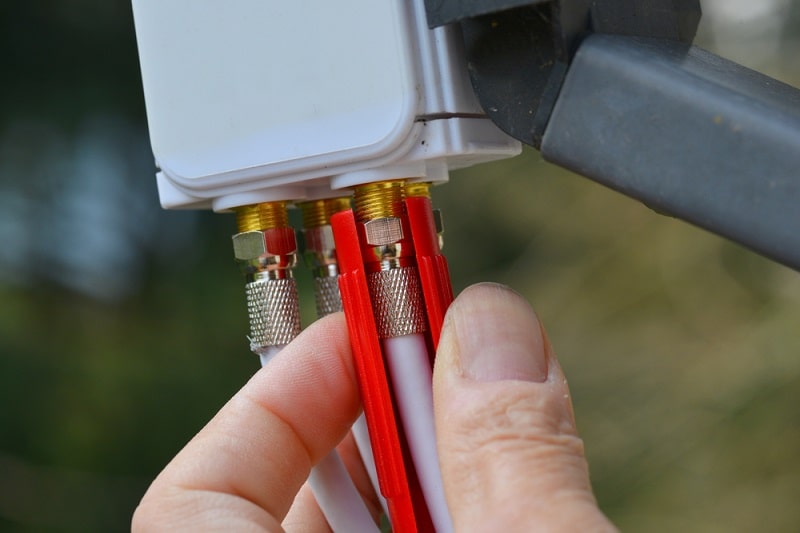
Not all homemade coaxial antenna builds are equal, and understanding the differences helps you choose the right design for your reception environment. Here is a direct comparison of the most practical options:
For most indoor situations, the basic dipole covered in the step-by-step section above handles the job cleanly. Upgrade to a Yagi or loop design only when signal strength tests confirm that a simple dipole is genuinely insufficient.
A signal amplifier — also called a preamplifier or booster — compensates for signal loss caused by long cable runs and weak broadcast towers. Add one when:
Do not add an amplifier if your signal is already strong — over-amplification causes pixelation and channel dropout just as reliably as weak signal does. For a deeper guide on the subject, read our full breakdown of how to improve VHF antenna reception.

Every two-way splitter introduces approximately 3.5 dB of signal loss per port. A four-way splitter costs you around 7 dB, which is significant on a marginal signal. If you need to feed multiple TVs from one homemade coaxial antenna, pair the splitter with an amplifier placed before the split — this is called a distribution amplifier setup and it is the correct long-term strategy for whole-home antenna use.
A coaxial antenna has no moving parts, but environmental exposure and cable degradation still erode performance over time, especially for outdoor builds. Follow these maintenance habits to keep your signal clean:
Even a well-built homemade coaxial antenna runs into reception issues occasionally, and most problems have a straightforward fix once you know where to look.
Yes — a single piece of RG-6 coaxial cable is all you need for a basic dipole antenna. By exposing and bending the center conductor and outer shield at the cable's midpoint, you create two radiating elements that capture UHF broadcast signals without any additional components.
Each arm should measure 5.5 inches (14 cm) from the midpoint of the exposed section, which corresponds to a quarter-wavelength at the midpoint of the UHF broadcast band. Adjusting slightly longer, toward 6.5 inches, shifts sensitivity toward lower UHF channels if you are missing certain networks.
In most cases, a properly built coaxial dipole performs comparably to flat antennas in the $15–$30 price range. Commercial antennas offer a finished aesthetic and integrated mounting, but their electrical performance is not inherently superior to a correctly tuned DIY build.
Yes, but you need to weatherproof all exposed conductor areas and connection points with self-amalgamating tape or dielectric grease before outdoor installation. An outdoor coaxial antenna should also be mounted well clear of metal surfaces that could cause signal reflection and phase cancellation.
Only if your cable run exceeds 25 feet, you are splitting signal to multiple TVs, or broadcast towers are more than 35 miles away. Adding an amplifier to an already-strong signal creates overload distortion, which produces pixelation and dropped channels identical to the symptoms of a weak signal.
Use a free tool like the FCC's DTV reception maps or a site like AntennaWeb.org to find the compass bearing and distance to every broadcast tower in your area. Point your dipole broadside toward the cluster of closest towers, which means the arms should be perpendicular to the direction you want to receive from.
Building your own homemade TV antenna from coaxial cable is one of the fastest ways to unlock free over-the-air HD channels, and now you have everything you need to do it right the first time. Grab a length of RG-6 cable, follow the step-by-step build above, and run a channel scan today — you may be surprised by how many clear channels are already broadcasting in your area, completely free of charge.


About Editorial Team
The DigiLabsPro editorial team covers cameras, lenses, photography gear, and creative technology with a focus on helping photographers make informed buying decisions. Our reviews and guides draw on hands-on testing and research across a wide range of equipment, from entry-level beginner kits to professional-grade systems.
You can get FREE Gifts. Or latest Free phones here.
Disable Ad block to reveal all the info. Once done, hit a button below
