According to industry data, water damage from plumbing failures costs U.S. homeowners more than $13 billion every year — and a significant portion of that damage starts with pipe problems no one spotted in time. That's precisely where this plumbing inspection cameras guide comes in. These flexible, cable-mounted camera systems let you see exactly what's happening deep inside your drains and pipes, identifying clogs, cracks, root intrusion, and corrosion before they escalate into major repairs. If you've been reading through the plumbing guides on this site, you already understand that early detection is always the cheaper path.
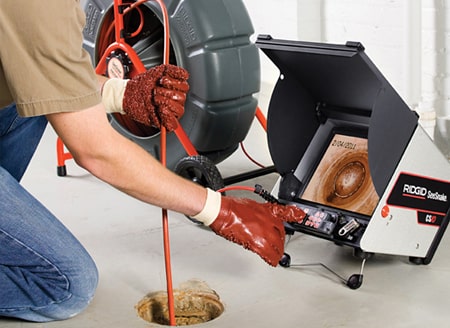
Plumbing inspection cameras have moved well beyond the professional-only category. Consumer models now put this technology within reach of DIY homeowners, property managers, and real estate buyers who want a clear picture — literally — before signing on the dotted line. The core technology mirrors what you find in professional imaging equipment: precision optics, adjustable LED illumination, and high-resolution sensors, all engineered to survive tight, wet, and debris-filled pipe environments.
In this guide, you'll get a complete breakdown of camera types, the features that actually matter, realistic price ranges, long-term maintenance strategies, and the stubborn myths that mislead buyers every day. Whether you're picking up your first unit or upgrading from a basic model to a professional-grade rig, every section gives you actionable information you can use right away.
Contents
You might picture inspection cameras as tools reserved for emergency drain calls, but the real-world applications go much further. Knowing where these systems shine helps you decide whether purchasing one makes sense for your situation.
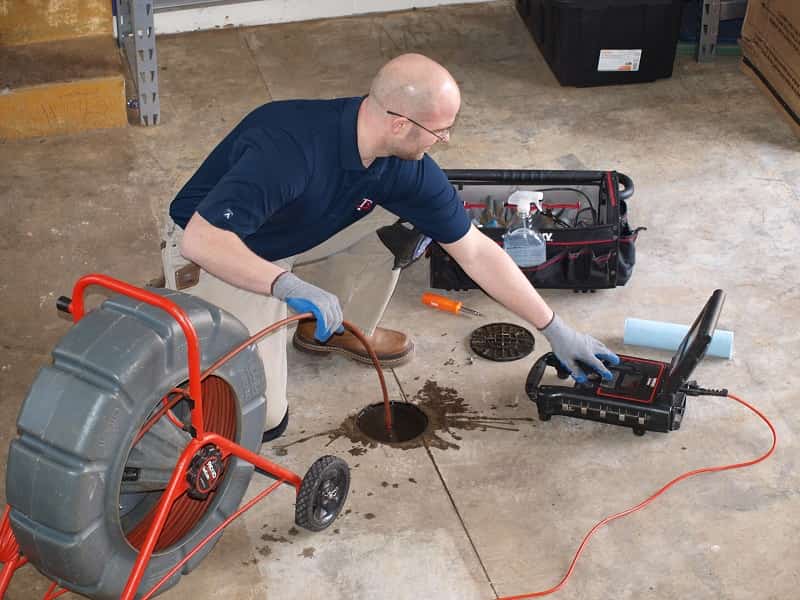
For homeowners, the most common use cases are:
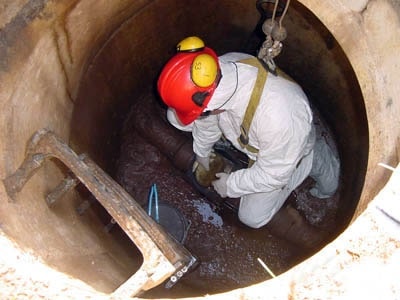
Licensed plumbers use inspection cameras daily for diagnostic work that would otherwise require guesswork and excavation. Commercial property managers run scheduled inspections on grease traps, storm drains, and sewer laterals. Drain cameras, as they're also known in the trade, have become as fundamental to a plumber's toolkit as a pipe wrench. The ability to document findings with video footage also protects contractors from liability disputes — timestamped footage proves exactly what conditions existed before any work began.
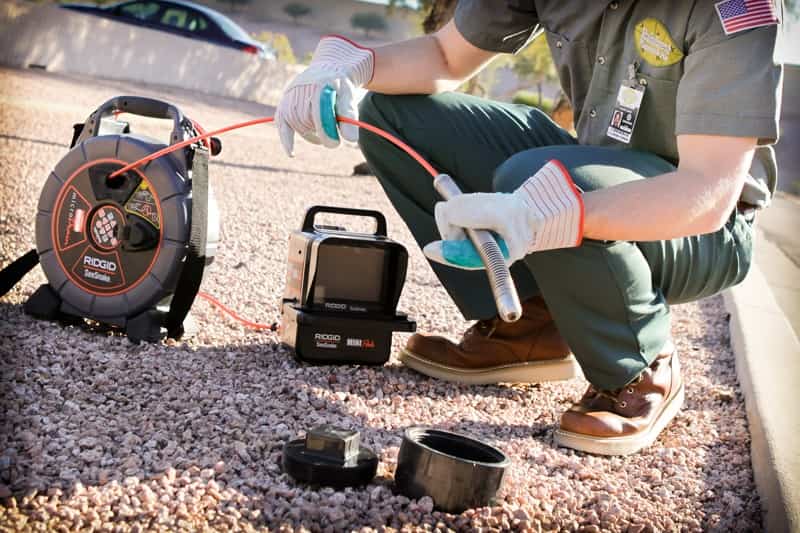
Inspection cameras come in three primary configurations. Push-rod cameras are the most common — a rigid or semi-rigid cable with a camera head that you manually feed through a pipe. Self-propelled crawler cameras use motorized wheels to navigate longer runs and larger-diameter pipes. Handheld borescopes are the most affordable option, suited for short drain sections and sink P-traps but not main sewer lines.
The camera head diameter is critical. Most residential drain lines run 1.5 to 4 inches in diameter. A camera head designed for a 4-inch line won't fit a 1.5-inch sink drain, so matching head size to your pipe diameter is step one. For context on how camera sensor size and optics affect image quality in tight conditions, our 4K video camera comparison explains resolution trade-offs that apply to inspection cameras too.
Not every spec on the box deserves equal attention. Focus on these:
Cable flexibility also deserves attention. A semi-rigid cable that maintains its shape through bends is easier to control than a fully limp cable, similar to how camera stabilizers work — they add controlled resistance to produce steadier results.
Inspection camera pricing spans a wide range, and the difference between budget and professional tiers is substantial. Here's what to expect at each level:
| Category | Price Range | Cable Length | Best For |
|---|---|---|---|
| Entry-Level Borescope | $30–$80 | Up to 16 ft | Sink traps, short drain sections |
| Mid-Range Push-Rod | $100–$350 | 25–65 ft | DIY homeowners, lateral lines |
| Prosumer Push-Rod | $400–$900 | 65–100 ft | Property managers, serious DIY |
| Professional System | $1,000–$5,000+ | 100–330 ft | Licensed plumbers, commercial jobs |
| Self-Propelled Crawler | $8,000–$25,000+ | Variable | Municipal lines, large commercial |
For most homeowners, the $200–$500 range hits the sweet spot. You get a full-color camera head, 50 to 65 feet of semi-rigid cable, a 4.3-inch or larger monitor, and basic recording to SD card. Brands like RIDGID, DEWALT, and General Wire dominate this segment with proven reliability.
Professional plumbers investing in a full push-rod system budget between $1,500 and $3,500 for a setup that includes a self-leveling camera head, locating sonde (for above-ground pipe tracing), and a ruggedized monitor with video/photo capture. This is the tier where resale footage quality matters for documentation and insurance claims.
Owning an inspection camera is only useful if you use it consistently. A practical maintenance schedule looks like this:
Every inspection run should be saved as a dated video file. Over time, this footage becomes a baseline that shows how your pipes age. When you spot a hairline crack in one inspection, comparing it to footage from two years earlier tells you how fast it's progressing. Documented footage also carries weight with insurance adjusters and contractors when you're negotiating repair estimates.
Pro tip: Label each recorded clip with the date, the pipe section inspected, and the approximate footage depth — searching unnamed files three years later wastes time you don't have during an emergency.
If your monitor shows a dark, blurry, or pixelated feed, work through these checks before assuming the camera head is faulty:
A cable that bunches up instead of advancing usually means you've hit a 90-degree elbow or a partial blockage. Never force the cable — you risk kinking the conductor wire inside, which creates a permanent dead spot in the cable. Back the cable out slightly, rotate it a quarter-turn, and try again with gentle forward pressure. If the camera consistently stalls at the same point, that location is telling you something: map it and investigate from the other direction if possible.
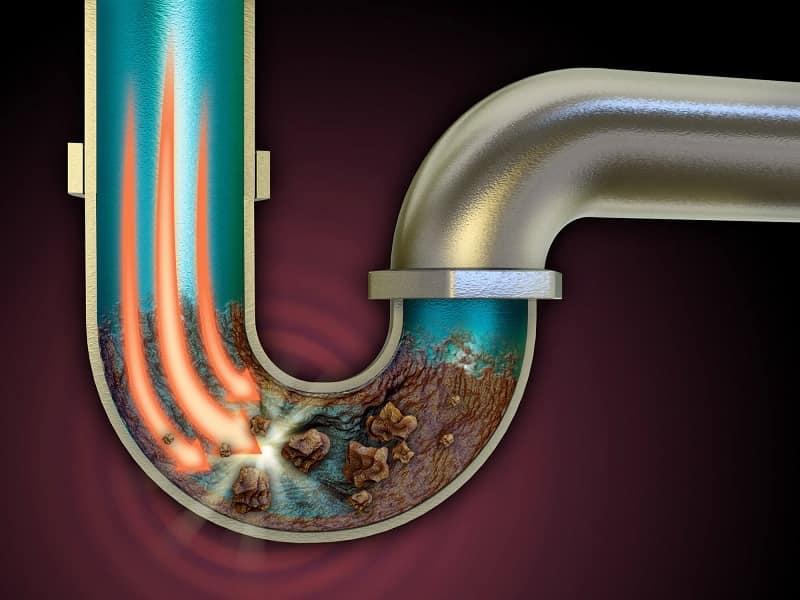
If you're new to inspection cameras, resist the temptation to buy the cheapest borescope available. A $35 unit with a flimsy cable and a 480p image will frustrate you into putting the device in a drawer. Start instead at the $150–$300 range, which gets you a semi-rigid cable of at least 25 feet, a dedicated monitor (not just a smartphone clip), and sufficient LED brightness to see pipe walls clearly. Learning to operate camera equipment well always starts with gear that gives you accurate, readable feedback — the same principle applies here.
Practice on an accessible cleanout before tackling your main sewer line. Get comfortable with how the cable feeds, how to read the image orientation, and how to save footage to the SD card.
The jump to professional-grade equipment makes sense when:
Renting professional-grade equipment before buying is smart. Many tool rental shops carry 100-foot push-rod camera systems, giving you a realistic trial run before committing $2,000 or more.
Misinformation about these tools costs people time and money. Here are the claims that don't hold up:
Myth: "Any clog will show up clearly on camera." A camera identifies structural issues and solid blockages well. Soft grease buildup that narrows a pipe by 30% without fully blocking it can look deceptively clear on a standard 480p monitor. Higher resolution and proper LED adjustment are essential for catching partial restrictions.
Myth: "A camera inspection means you don't need a plumber." The camera is a diagnostic tool, not a repair tool. It tells you what the problem is and where it is. Fixing it — whether that means hydro jetting, pipe lining, or excavation — still requires the right equipment and skills.
Myth: "Inspection cameras work in any pipe size." They don't. Each camera head has an operating range. Running a head designed for 3-inch pipe into a 1.5-inch line damages both the camera and the pipe. Always verify pipe diameter before choosing equipment.
Myth: "Wi-Fi camera heads are just as reliable as wired systems." Wi-Fi borescopes that stream to your smartphone are convenient for short, dry applications, but they're unreliable inside wet metal pipes where signal interference is constant. For serious drain work, wired systems with dedicated monitors deliver consistent performance.
Most residential push-rod cameras cover 50 to 100 feet of pipe. Professional-grade systems extend to 200 or 330 feet. For a standard home's sewer lateral — typically 50 to 80 feet from the cleanout to the street connection — a 100-foot cable handles the job with room to spare.
Yes, but use a camera head rated for that pipe diameter (typically 3–4 inches) and feed it through the toilet bowl into the drain line — not through the tank. Avoid entry through older wax-ring sealed connections unless you've already removed the toilet for another repair.
Wired monitor systems deliver more reliable image quality inside metal and wet pipes where wireless signals degrade. Wi-Fi borescopes that connect to smartphones work for short, accessible drain sections but are not a dependable choice for main sewer lines or deep inspections.
Flush the camera head and cable through clean water immediately after each use. Wipe the lens with a lint-free cloth and dry the cable fully before reel storage. Never store a wet cable — moisture trapped in the coil degrades the insulation over time and causes signal issues.
Inspection cameras identify visual issues: blockages, root intrusion, cracks, offset joints, and corrosion. They cannot detect leaks that occur outside the visible pipe wall surface, measure water pressure, or identify material composition (e.g., whether a pipe is cast iron or PVC) without additional analysis.
For professional use, yes — a self-leveling head keeps the image oriented correctly regardless of how the cable rotates, making footage easier to read and document. For occasional homeowner use, a fixed-head camera at half the price delivers more than sufficient results.
Absolutely. Tool rental shops and some big-box hardware stores carry professional push-rod systems by the day. Renting is the right move for one-time inspections or pre-purchase pipe assessments — buying makes economic sense only if you'll use the tool at least several times a year.


About Editorial Team
The DigiLabsPro editorial team covers cameras, lenses, photography gear, and creative technology with a focus on helping photographers make informed buying decisions. Our reviews and guides draw on hands-on testing and research across a wide range of equipment, from entry-level beginner kits to professional-grade systems.
You can get FREE Gifts. Or latest Free phones here.
Disable Ad block to reveal all the info. Once done, hit a button below
