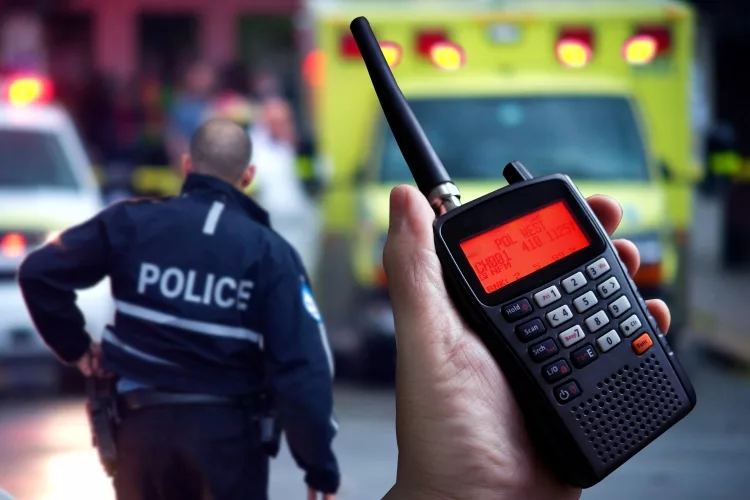
The Baofeng UV-5R is a very popular portable police scanner. It's one of the smaller radios on the market and it comes at an affordable price point, so this might be your best bet if you're looking to get start... [read more]
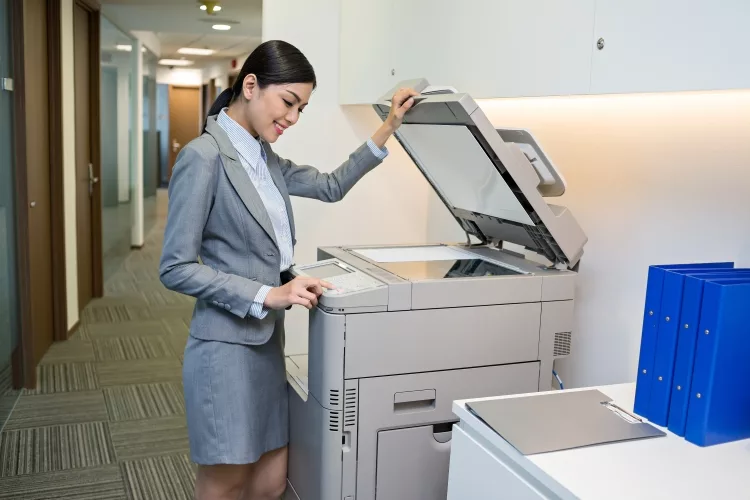
This blog post will teach you how to close your scanner. It is important to ensure your scanning surface is clear of any debris, and that the lid is securely fastened before closing the scanner. To close your s... [read more]

Hey everyone, if you're like me then you probably love playing Minecraft. It's such a fun game and there's always something to do. Unfortunately, the game can be pretty costly if you want to play it on a regula... [read more]

In this blog post you will learn how to turn on your Sony soundbar without the remote control. ContentsSteps to Turn on Sony Soundbar Without RemoteHow do I manually turn on my Sony sound bar?Where is the power... [read more]
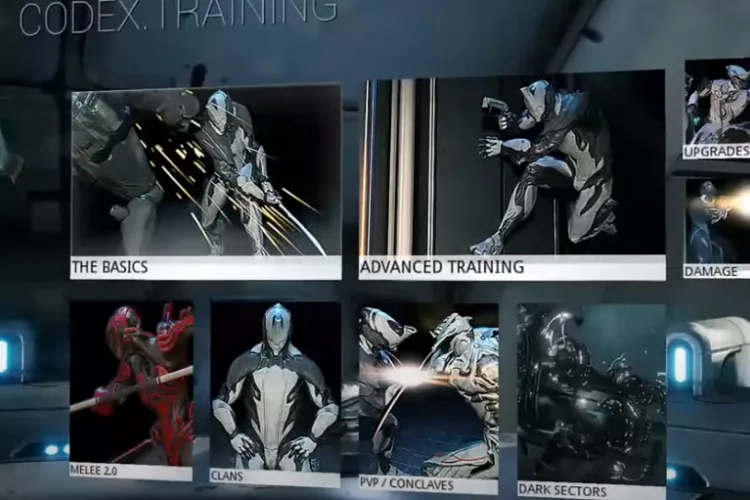
Warframe how to get codex scanner. The easiest way is through the Codex Scanner, which can be purchased from any available market for 100 credits or obtained as a reward from completing certain quests and missi... [read more]

You are celebrating your child’s birthday party in the house. While your child is busy playing and munching on snacks with the other kids, later you saw that one of the kids accidentally dropped a chocolate cupcake on the seat of the dining chair. “Oh no!... [read more]

The discovery scanner is a powerful tool in Elite Dangerous. It can be used to scan star systems for valuable materials like gold, platinum and palladium. But what exactly does the discovery scanner do? How do... [read more]
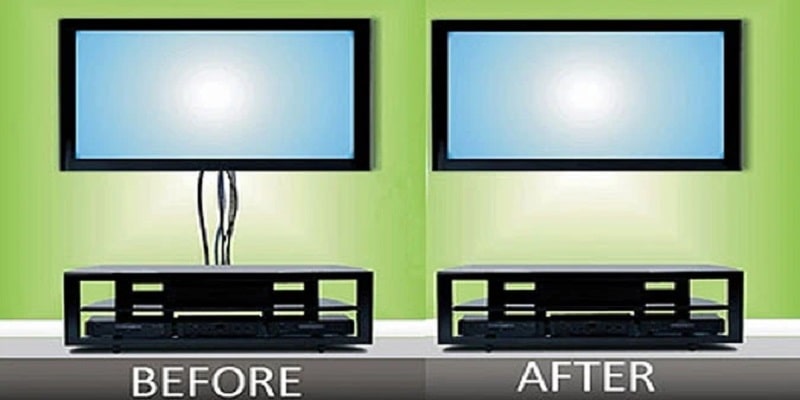
The main reason as to why one would want to hide TV cords in living is for safety measures. TV wires, when left out, pose a potential danger for young ones if accessible. Another reason is to make the living room look neat. There are various ingenious hac... [read more]
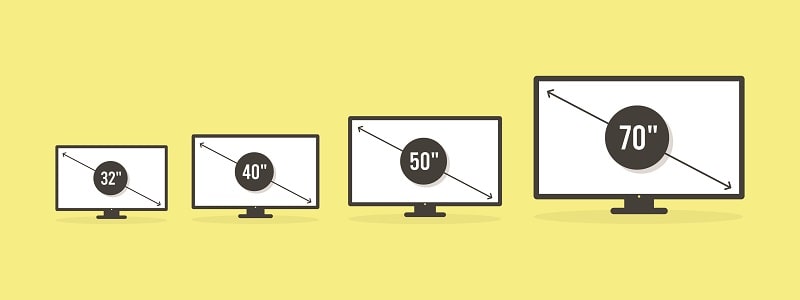
The right way to measure a TV screen is diagonally measure it from the top right corner to the left bottom corner. The process of measuring the screen is to know whether the TV will fit into a specified place in a home. In this digital error, the televisi... [read more]
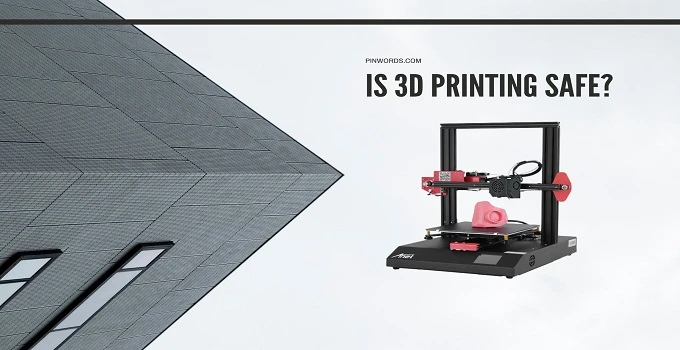
If you have this question in your mind, “Is 3D printing safe?” we can say that this question has no particular answer. People around the world have been printing attractive 3D models, so the process can be considered safe, otherwise, they wouldn’t have do... [read more]
Check These Out
