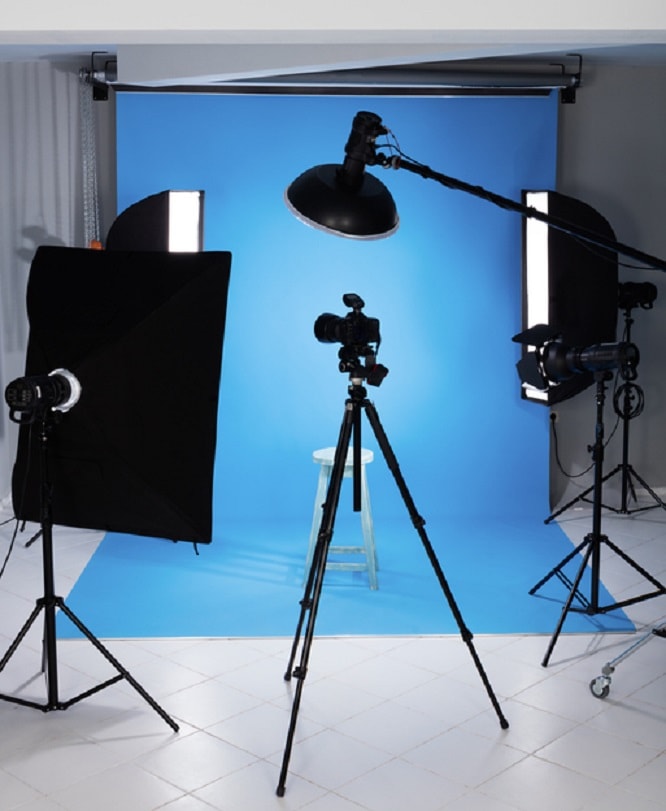
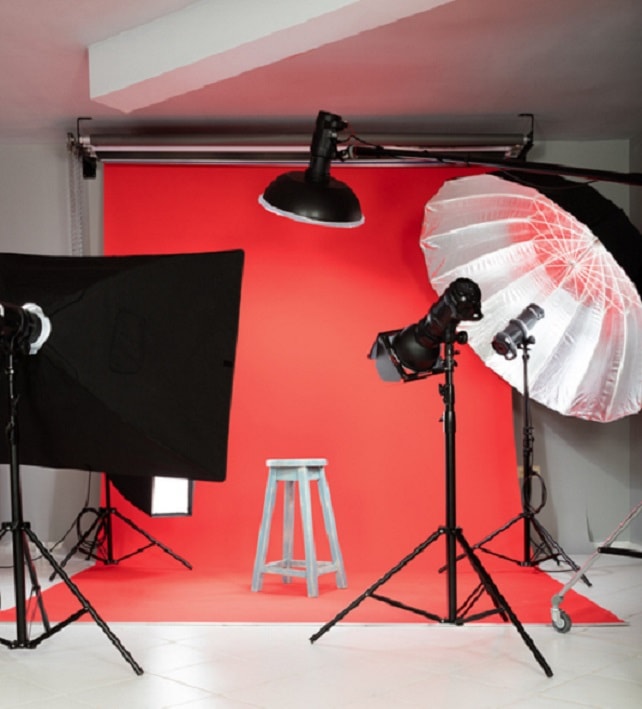
Photography related projects are often intended to be sold online. It is even more interesting when you do this to practice your skills. The truth is it is key to have proper lighting to get the perfect shots. This means you have the option of going out to invest in expensive setup or trying to use the natural daylight.
Of course, seeing how a real construction skill handles photography is amazing. This guide typically shows how to start venturing into building your own. Read on and properly make your lightbox for great shots and adventure.
Contents
It is quite interesting to see your craftsmanship levels get too detailed to make something simple. Lightboxes are items that are often used regularly so they should be custom-built to suit your needs and space. This also enables you to take pride in something built by yourself. Start by choosing a cardboard that is large enough to fit the item to be photographed. Try finding one big box that is available to allow you to take pictures of nearly anything.
This can mean asking from a local shop or buying from a packing company. That is key as you will get the perfect type and size. If you need a durable lightbox, then use a carton made from a strong material. Wooden or dense plastic types would work well. However, remember something stronger like a saw will be needed to cut its sides to make lighting sections.
Stick the folds to one side by turning the cardboard over and folding its flaps downwards to form a flat base. Use tapes like packing and duct types, or any other similar thing for holding the folds in place and also balancing the box. The flaps inside the box should as well be taped down to remove them from your way while working.
Some boxes, however, are available when one side is already held using cardboard strips. Even though the box will remain steady enough through the process, taping its edges is worth it. This ensures you get extra stability for smooth working.
Position the box with the side facing you to enable you to open its flaps. Mark a point using a ruler about 2 inches from one edge on the box’s side. With a sharp pencil draw a line on the ends to join the points. The result is a rectangle having space around its edges. Do this on the other side too and maintain the sizes.
This will be covered using fabric, tissue or parching paper. If the box you have is big, you will need to make smaller windows. But also ensure you get to conceal it with a piece of paper or fabric. Alternatively, you can trace one window above the box. This will allow enough lighting to the item you need to take its picture from the top.
Using a sharp enough pair of scissors or a box cutter cut out precisely the marked lines. Go around every side until the middle piece becomes easy to remove. What should be left is a small opening. Repeat the process on the other side also to create another hole. Place a ruler along the drawn lines to make them extra straight when cutting. This cannot interfere with the functioning of this box but it will look better.
Begin by putting a piece of thick white paper or photograph board above the box. With the box cutter or scissors trim any hanging edges, to ensure that it fits inside well. The width of the board and box should be the same, and its top side should be two times longer.
White photograph boards work exceptionally for this purpose. The reason is that it is smooth enough and cannot easily wrinkle within the box. Most local craft stores have the pieces readily available at reasonable prices. In case you cannot get one, then consider using any large and sturdy white piece of card or paper.
One important aspect to keep in mind is on the surface. Choose one with a nonglossy finish. This type provides an easy and endless look of the object you wish to photograph as though it is sitting in a void area. Try working with diverse colors to bring in different effects. Something too shiny reflects too much light. It ends up ruining the reason for having a lightbox.
Tape using a long piece of packing or duct tape towards the upper edge of the board. Be cautious and avoid having this tape touching other things. Press it well inside the cardboard near the top from the backside. With another piece, hold the other end of the board on the bottommost part of the box.
Do not fold or crease the board at any point. Try and bend it to form a small curve along the bottommost corner at the back. Never worry if the whole box gets covered. The key thing is to have a section that is wide enough for taking pictures. Of course, no part of the cardboard should be exposed.
This helps in diffusing the shining light in the lightbox to provide uniform lighting to the entire picture. Measure an extra length about one inch on tissue paper, white fabric, or something similar on every side then cut out.
Make this process easier by using the cardboard cutout as a guide on the box while making the windows. Place it on the fabric or tissue paper and cut around it, leaving space on each side to attach it to the box.
Choose a material that is non-reflective to allow some and not all the light passes through it. The best one would be a smooth tissue paper, white fabric, parchment paper or something that functions in that way.
Start working from the upper edge of the chosen material. Using tape or hot glue secure it on one window. Leave it to drape down on the opening and attach its other edges with enough glue or tape. Repeat the same process and cover all the windows cut.
Position the object to be photographed in the center of the lightbox. Put the completed device on a large enough and flat surface. Ensure you leave some space to place lightings on both sides on the white surface.
With the screen or viewfinder on the camera position this item on the lightbox. Adjust both the item and camera until you attain a clear shot. Make sure that no part of the cardboard is exposed or is showing.
In case the item or camera is hard to position right, get to crop the picture. This allows you to remove whatever is on unwanted that is captured. There is no need to edit further since a simple edit reduces too much careful relocation.
Directional lighting sources and not ambient ones will work well for your lightbox. So get enough desk lamps because there are windows on this device. Place them in a way that all faces the cut opening directly, and turn on.
The lights should be always 5 inches away from the opening. This distance prevents the top material from being too hot. However, when initially turning the lights on keep a uniform space from the lightbox. Create different and stunning lighting effects from the inside by trying to move some closer or further from the windows.
Get the best result by using cool white light bulbs. Other colors may produce images with a yellowish shade. Ensure the lamps are either desk type or can easily clip onto the existing furniture.
Undoubtedly most of the pictures to be taken will not be uniformly and brightly lit always. So it is natural to find out that the first pictures will turn out with too much brightness or totally the off beam color. Try changing the setting as ISO, shutter speed, and the white balance. Do this until all the photos appear normal and perfect as desired.
Once the item is aligned and the camera settings are perfect, then it is the right time to capture. Change the location of the cameraso that nothing else is seen except for the white background. Hold the device steadily and take a few snaps. The flaps that remained open can be used to block any shiny light.
Finally, photography adventures do not call for spending too much money to yield results. With a small amount of ingenuity and the right tools, you can extremely go far. Taking a DIY project with extreme levels of detail is indeed a complete overkill. Choosing to create one is a solution to the images desired. Undoubtedly, the final thing is a fine-looking lightbox that has enough space inside. There are high chances that the right material will not affect reflections on the items to be shot.
 |
 |
 |
 |
Check These Out
